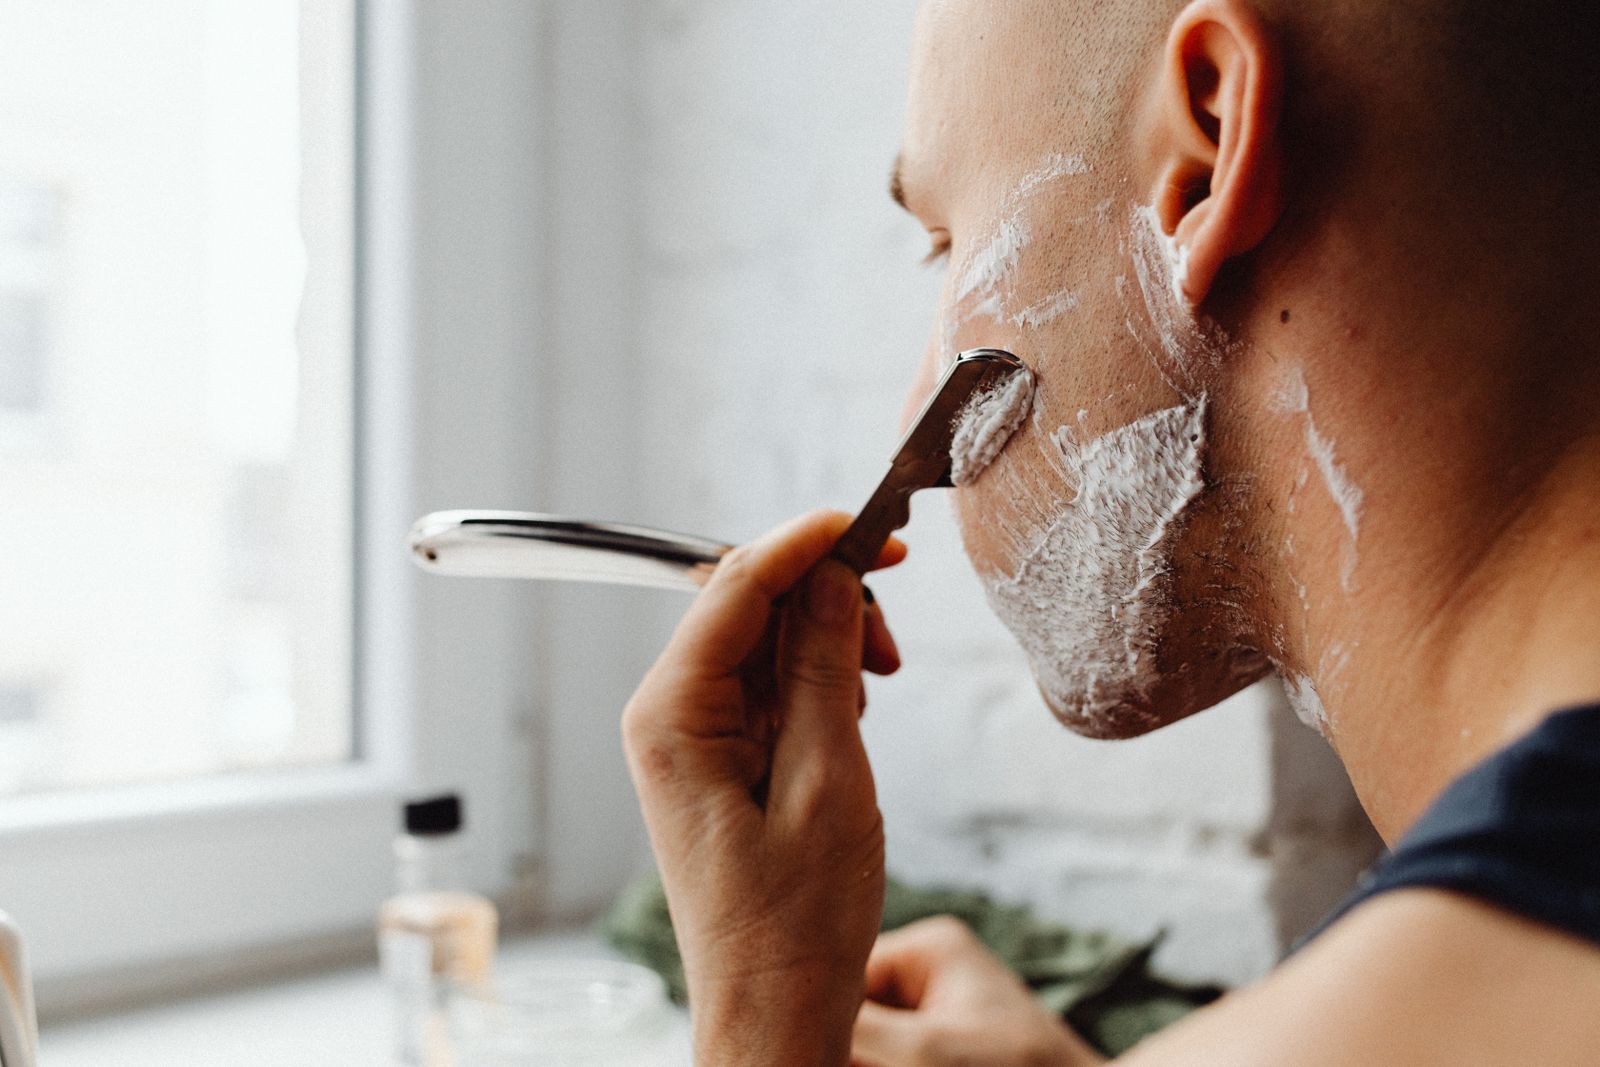
How to Achieve a Smooth Bald Head Shave Without Irritation Using a 7D Floating Shaver
Follow the 2-2-0 rule: ensure scalp hair is 2.0 mm or shorter, execute 2-inch overlapping circular strokes, and apply 0 extra downward pressure. Allow the flexible 7D magnetic floating heads to contour across your skull, using IPX7 wet lather or dry pass, followed by a cold water rinse.
Key Takeaways for 7D Scalp Shaving
- 2.0 mm Pre-Trim Rule: Rotary 7D heads are engineered for stubble under 2.0 mm. Use the precision clipper attachment first if hair exceeds 2 days of growth.
- Zero-Pressure Suspension: Magnetic levitation suspension automatically adjusts to scalp contours; pressing hard flattens head flex and causes 90% of friction bumps.
- Circular Trajectory: Linear back-and-forth strokes pull hair against irregular growth grains. Overlapping 2-inch circles feed hair into cutting slots from 360 degrees.
- Magnetic Snap Cleaning: Remove the magnetic head assembly in 3 seconds post-shave to wash away micro-stubble and skin oils, preventing bacterial folliculitis.
7D Magnetic Levitation Technical Specifications & Ergonomics
Photo by cottonbro studio on Pexels
| Technical Specification | Optimal Operating Range | Impact on Scalp Shaving & Comfort |
| --- | --- | --- |
| Maximum Hair Length Limit | 2.0 mm (1-2 days growth) | Prevents hair tugging, skin pinching, and blade jamming inside rotary guards. |
| Flexibility Vector | 360-degree multi-axis 7D floating flex | Maintains continuous blade contact over occipital bone and curved crown without skin lifting. |
| Downward Pressure Limit | 0.5 to 1.5 N (Light touch) | Preserves floating suspension movement and prevents stratum corneum abrasion. |
| Waterproof Rating | IPX7 Full Submersion | Allows safe execution in the shower using shaving gels, foams, or lubricated creams. |
| Head Removal Mechanism | Magnetic Levitation Quick-Snap | Enables instant separation for complete 3-second stubble flush and hygienic maintenance. |
The structural and mechanical parameters of the 7D Magnetic Floating Head system dictate how force and cutting dynamics interact with scalp tissue.
Scalp Zone Navigation Map & Pre-Shave Flowchart
Refer to these visual blueprints when navigating complex scalp contours and deciding between prep paths.
Scalp Grooming Troubleshooting Matrix
| Symptom / Scenario | Primary Root Cause | Immediate Technical Corrective Action |
| --- | --- | --- |
| Red Bumps on Occipital Ridge & Nape | Excessive downward force flattening the 7D suspension, causing friction burn. | Ease grip pressure immediately; let the magnetic floating head float on skin surface. |
| Hair Snagging or Painful Tugging | Stubble exceeds 2.0 mm or hair density is clogging cutter slots. | Stop shaving pass; attach precision clipper to pre-trim hair down to skin level. |
| Patchy / Uneven Stubble Spots on Crown | Moving shaver in straight linear passes instead of circular loops. | Switch to 2-inch overlapping circular strokes to catch hair growing in multi-directional whorls. |
| Skin Stinging During Wet Shave Pass | Using alcohol-based pre-shave lather or clogged blade assembly. | Rinse with cold water, clean magnetic head of residual oils, and apply alcohol-free shave gel. |
| Shaver Motor Slows Down Mid-Pass | Accumulated micro-stubble sludge packed under magnetic chamber. | Snap off magnetic 7D head and rinse under running tap water for 5 seconds to clear path. |
Diagnose common scalp shaving issues based on visual symptoms and physical feedback.
12-Minute Scalp Shaving Sequence
- Minutes 0:00 - 2:00 — Scalp Prep & Length Check: Inspect stubble length. If over 2.0 mm, trim with clipper attachment. Wash scalp with warm water to soften keratin.
- Minutes 2:00 - 4:00 — Lubrication / Pre-Shave Layering: Apply thin layer of hydrophobic shave gel or wet scalp thoroughly in shower (IPX7 mode).
- Minutes 4:00 - 8:00 — 7D Main Circular Pass: Execute 2-inch overlapping circular motions starting at Frontal Zone, moving across Crown to Occipital Ridge.
- Minutes 8:00 - 10:00 — Detailing & Nape Clean-Up: Navigate perimeter lines around ears, temple contours, and lower nape using light floating pressure.
- Minutes 10:00 - 12:00 — Rinse, Head Snap Cleaning & Soothing: Cold water scalp rinse. Snap off 7D magnetic head to flush stubble. Apply witch hazel or alcohol-free post-shave balm.
Pre-Shave & Equipment Readiness Checklist
- [ ] Verify hair length is 2.0 mm or shorter (use precision trimmer attachment if longer)
- [ ] Inspect 7D magnetic levitation head to ensure clean, hair-free blades
- [ ] Confirm shaver battery level is at least 50% for consistent motor speed
- [ ] Cleanse scalp with warm water and mild cleanser to remove skin oils
- [ ] Apply pre-shave oil or warm lather if choosing a wet shave protocol
Pro Tip: Pressure Control & Magnetic Head Handling
> Expert Insight: The most common mistake scalp shavers make is treating an electric head shaver like a manual cartridge razor. A 7D magnetic floating head relies on micro-suspension springs that require less than 1.5 Newtons of force to contour perfectly against the skull. If you press hard enough to compress the internal springs completely, you eliminate the floating action, increase surface skin friction by up to 300%, and guarantee razor burn on delicate occipital skin. Trust the magnetic levitation geometry to do the flexing for you.
Choosing Your Scalp Shaving Protocol
To achieve a smooth scalp without irritation, use the 7D shaver with zero pressuring force, moving in 2-inch slow circular overlapping passes.
Best choice for
- Wet Shave with Hydrophobic Shave Gel — Provides extreme lubrication cushion, reducing friction by up to 40% on delicate scalp tissue.
- Dry Shave with Pre-Shave Powder or Water-Based Lotion — Allows fast 3-minute touch-ups when hair stubble is under 1.0 mm.
- Hair length is currently greater than 2.0 mm without pre-trimming
- Active sunburn, open scalp wounds, or severe inflamed acne cysts are present
- Manual Safety Razor — Offers closest possible shave but drastically increases risk of nicks on curved cranial bones.
- Foil Shaver — Great for straight lines, but lacks 360-degree 7D contouring over the curved crown and occipital ridge.
Essential Grooming Tools for Smooth Scalp Shaving
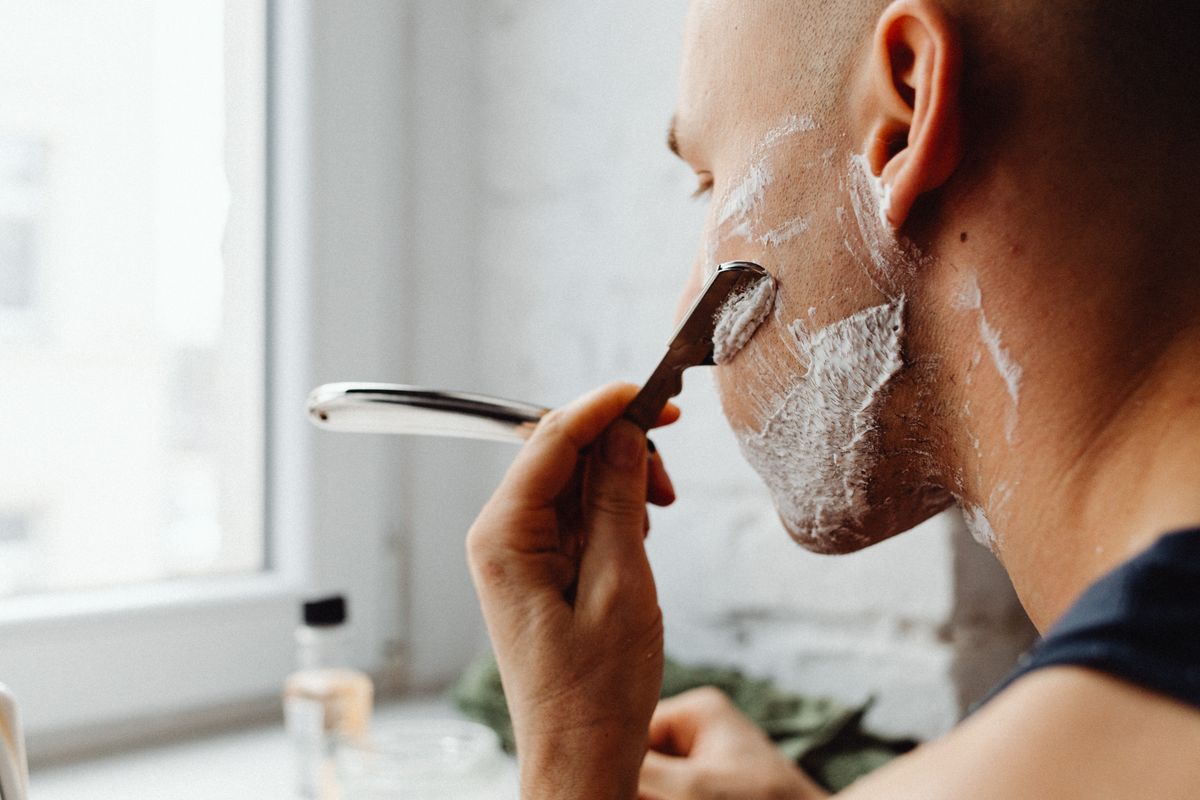
Photo by https://kaboompics.com/ on Pexels
Achieve optimal performance and scalp comfort with our recommended multi-grooming kit system.
Shaving a curved surface like the human scalp requires breaking down the anatomy into 4 distinct zones. Understanding how hair grain changes across these zones ensures complete stubble removal without drag.
Zone 1: Frontal & Hairline Boundary
Start at the forehead center and work backward toward the mid-scalp. Hold the 7D shaver at a neutral 90-degree angle relative to the skin surface. Execute light 2-inch clockwise circles, advancing 1 inch with every rotation. Because frontal hairline hair typically grows straight forward, circular strokes cut cross-grain safely on the initial pass.Zone 2: The Crown & Whorl Center
Hair at the crown grows in a 360-degree spiral pattern (the cowlick zone). Linear shaving here guarantees cutting directly against the grain, which leads to micro-tears. Place the central 7D rotary head directly over the whorl center. Execute widening concentric spiral patterns outward, maintaining zero added downward pressure. Let the 7 floating outer heads pivot along the crown curve.Zone 3: Temples & Post-Auricular Area (Behind the Ears)
The skin behind the ear is thinner (0.8 mm average thickness) and highly flexible. Use your free hand to gently pull the ear downward and flatten skin behind the lobe. Move the 7D shaver in slow upward 1.5-inch circular arcs. The magnetic levitation mechanism adapts instantly to the sharp angle between the mastoid process and the skull base.Zone 4: Occipital Ridge & Nape
The occipital ridge presents the sharpest bone curvature on the head, while nape hair grows downward or laterally. Divide the nape into left and right halves. Gently tilt your head forward to stretch the nape skin smooth. Work from the base of the hairline upward toward the occipital bone using slow, overlapping 2-inch circles. Always complete a final cold-water rinse across Zone 4 to immediately close pores and shrink micro-vessels.Wet vs. Dry 7D Head Shaving Comparison
| Shaving Scenario | Prep Time Required | Closeness Level (1-10) | Skin Comfort Index | Best Scalp Condition |
| --- | --- | --- | --- | --- |
| Dry Quick Pass (Under 1mm) | 1 minute | 8.5 / 10 | High (No active irritation) | Normal / Resilient Scalp Stubble |
| Wet Lather Shave (In Sink) | 3-4 minutes | 9.5 / 10 | Maximum Comfort | Sensitive / Prone to Inverted Hairs |
| In-Shower Gel Shave (IPX7) | 2 minutes | 9.0 / 10 | Very High Comfort | Coarse / Thick Hair Growth Patterns |
Compare key operational metrics across different head shaving scenarios to select the best routine for your daily schedule.
5 Scalp Shaving Pitfalls to Avoid
- 1. Pressing hard against the skull: Flattens the internal floating spring suspension, stopping blade articulation and scraping the stratum corneum.
- 2. Skipping the pre-trim step on long hair: Attempting to shave 4.0 mm hair directly with rotary heads causes painful hair pulling and blade binding.
- 3. Straight back-and-forth strokes: Linear movement catches multi-directional crown whorls against the grain, triggering scalp redness.
- 4. Using alcohol-based aftershaves: Dehydrates freshly shaved scalp tissue, leading to severe burning and oil overproduction.
- 5. Skipping post-shave magnetic head rinsing: Leaving stubble and sebum inside the magnetic blade chamber breeds bacteria and dulls cutters fast.
Recommended Scalp & Grooming Guides
Continue expanding your technical grooming knowledge with these related operational articles:
- Wet vs. Dry Head Shaving: Which Method Yields the Closest Scalp Shave?
- How to Clean and Maintain Your Magnetic Floating Shaver Head for Peak Performance
- 7D Head Shaver FAQ: Everything You Need to Know for Sensitive Scalp Grooming
- Rotary vs. Foil Shavers for Sensitive Skin: Which Gentle Grooming Method Wins?
Frequently Asked Questions
How short does my hair need to be before using a 7D head shaver?
Hair must be 2.0 mm or shorter (1-2 days of stubble growth). If hair is longer, use the clipper/trimmer attachment to cut it down first to prevent snagging.Can I use shaving cream with a waterproof 7D electric shaver?
Yes, because the unit is 100% waterproof (IPX7 rated), you can use gel, foam, or shave butter in the shower for extra friction defense.Why am I getting red bumps on the back of my neck after scalp shaving?
Red bumps on the nape are caused by excessive pressure or dull/dirty blades. Lighten pressure, shave in slow circles, and sanitize magnetic shaver heads after every use.How do 7D magnetic floating heads differ from standard snap-on heads?
Magnetic heads snap off effortlessly for instant 3-second stubble removal and cleaning, while levitation suspension allows 360-degree multi-axis pivoting across curved head contours.Immediate Post-Shave Action & Routine Progression
Your decision: Determine whether your scalp hair is under 2.0 mm and decide between wet lather or dry shave routine based on skin sensitivity.
Do this next: Ensure shaver is 100% charged, pre-trim stubble if necessary, and execute 2-inch circular passes with zero added downward pressure.
- Read next: Wet vs. Dry Head Shaving: Which Method Yields the Closest Scalp Shave?
- Read next: How to Clean and Maintain Your Magnetic Floating Shaver Head for Peak Performance
7D Magnetic Floating Head Electric Shaver Kit for Women & Men
Follow these next actions to complete your scalp routine and maintain blade performance.
Cover photo by https://kaboompics.com/ on Pexels.